As the hot weather continues in the UK we had a timely special order arrive and spent a couple of days fitting it. We have a sold a couple of these air con units in the past and had the car trailered back to us shortly after for us to complete the install for them.
Customer Cars
A ’65 fastback was due an upgrade for a bit of cool air inside the car. This is not the most straight forward of processes as there are lots of steps involved.
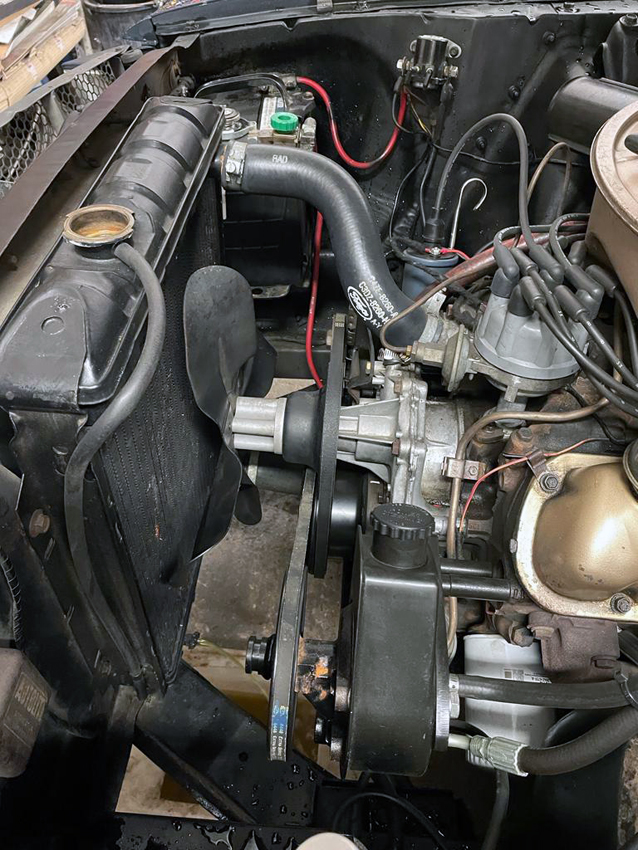
First up the radiator needs to be drained and an ideal time to check the quality of the coolant, if it’s even remotely dirty, or hasn’t been changed for a few years now is the time replace it.

The centre console has to be carefully removed as they can become brittle. Removing the inside of the glove box can make life easier when removing the heater matrix box. Dislodge the cowl rubber collar as they are more often than not stuck in place.


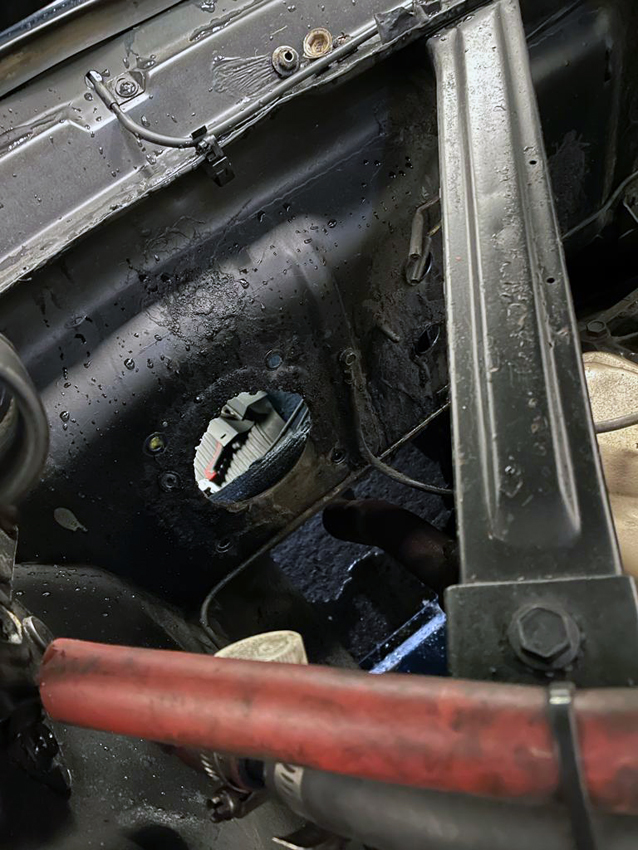
The heater pipes can either be cut or uncoupled from the engine block as they need to be pulled through the firewall as they are attached to the heater matrix inside the heater box. There are four studs and nuts that hold the blower motor motor for the heater box in place under the dash.


The aircon kit has just one or two bits to fit.

There is a knack to fitting these kits, so we won’t be giving all our secrets away. The unit will bolt into the same place as the original unit, but this time the heater matrix will come through the firewall.


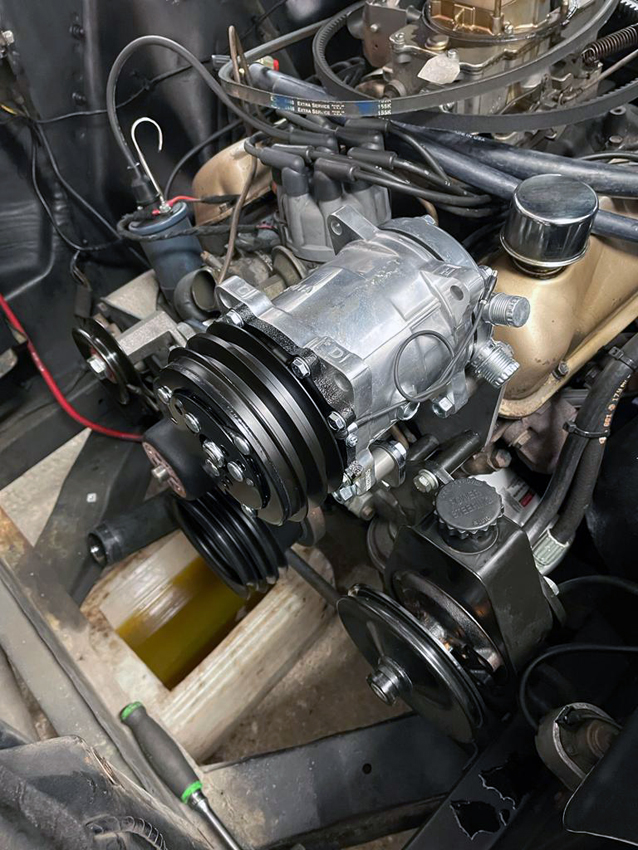
We have our own reinforced compressor bracket which we use as it’s a bit more substantial. The unit can be a awkward t get in place and bolt into place on your own. Route the pipes round the back of the engine ready to be fitted to the pump unit.

Next up is the radiator and the plumbing. The good thing is that these old cars already have the space to be fitted and cut outs, so it’s just a case of bolt them into place.

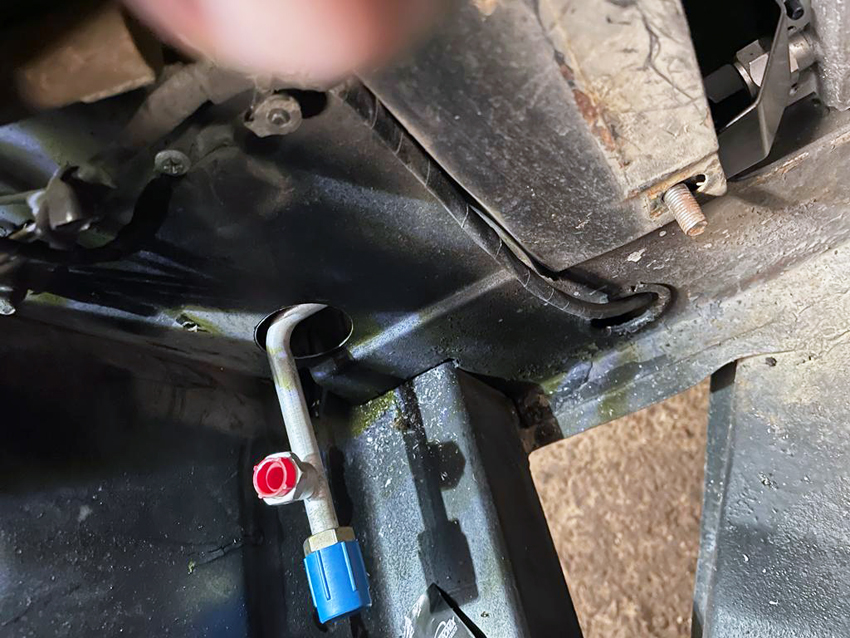


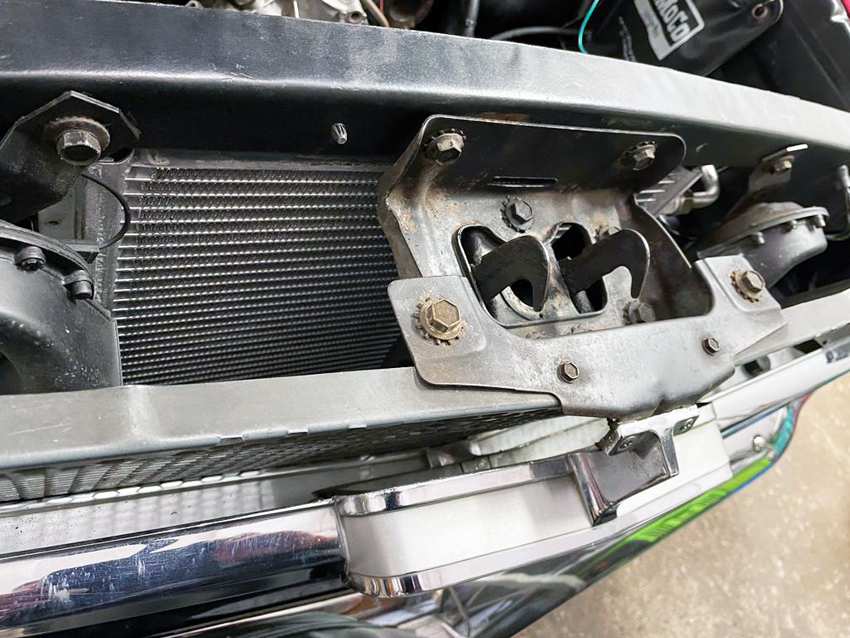
Condensor and the rest of the pipework to go in place then the wiring to integrated into the wiring loom. If there is a standard two-belt crank pulley system that will need to be swapped for a three-belt system. The belts will need to aligned up so that they run true to the centre of the grooves.


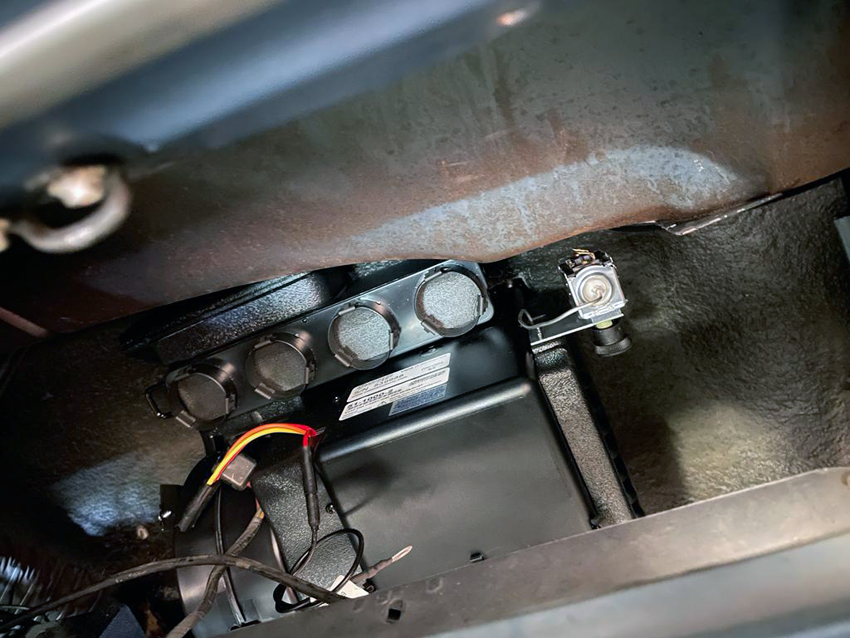
Ducting under the dash for the airflow isn’t too bad making sure that you don’t kink or split the pipes. The coolant radiator can be refitted and plumbed back, mix the correct antifreeze and purge the system of air.


Finally fill the system with the refrigerant and test. The car was taken on a road test to make sure the compressor was working as it should and the belts seat correctly on the pulleys. On the odd occasion the radiator fan may need to be upgraded if the air being pulled through both radiators isn’t enough. So far it looks OK with the fresh coolant mixture. The final look of the kit doesn’t look wrong or out of place in the engine bay.
As these cars only tend to come out in the nice weather, having a working cold aircon unit makes for driving these cars that little bit more comfortable.
Stay Safe & Keep Cool!


Wowow great work!
LikeLiked by 1 person
Thanks Simon. 👍
LikeLike