We have had a couple of phone calls this week (from the same customer) at Mustang Maniac on how to do something once they had purchased the parts. Unfortunately, we simply just don’t have the time to walk somebody through a process over the phone and more often than not, when we try to explain this the customer sometimes takes offence! We were asked a how to change the wiper arms on a ’66 Coupe, so we thought that we could do a very quick guide to save the phone calls in the future, but we will come to that a little later in this post.
Customer Car:
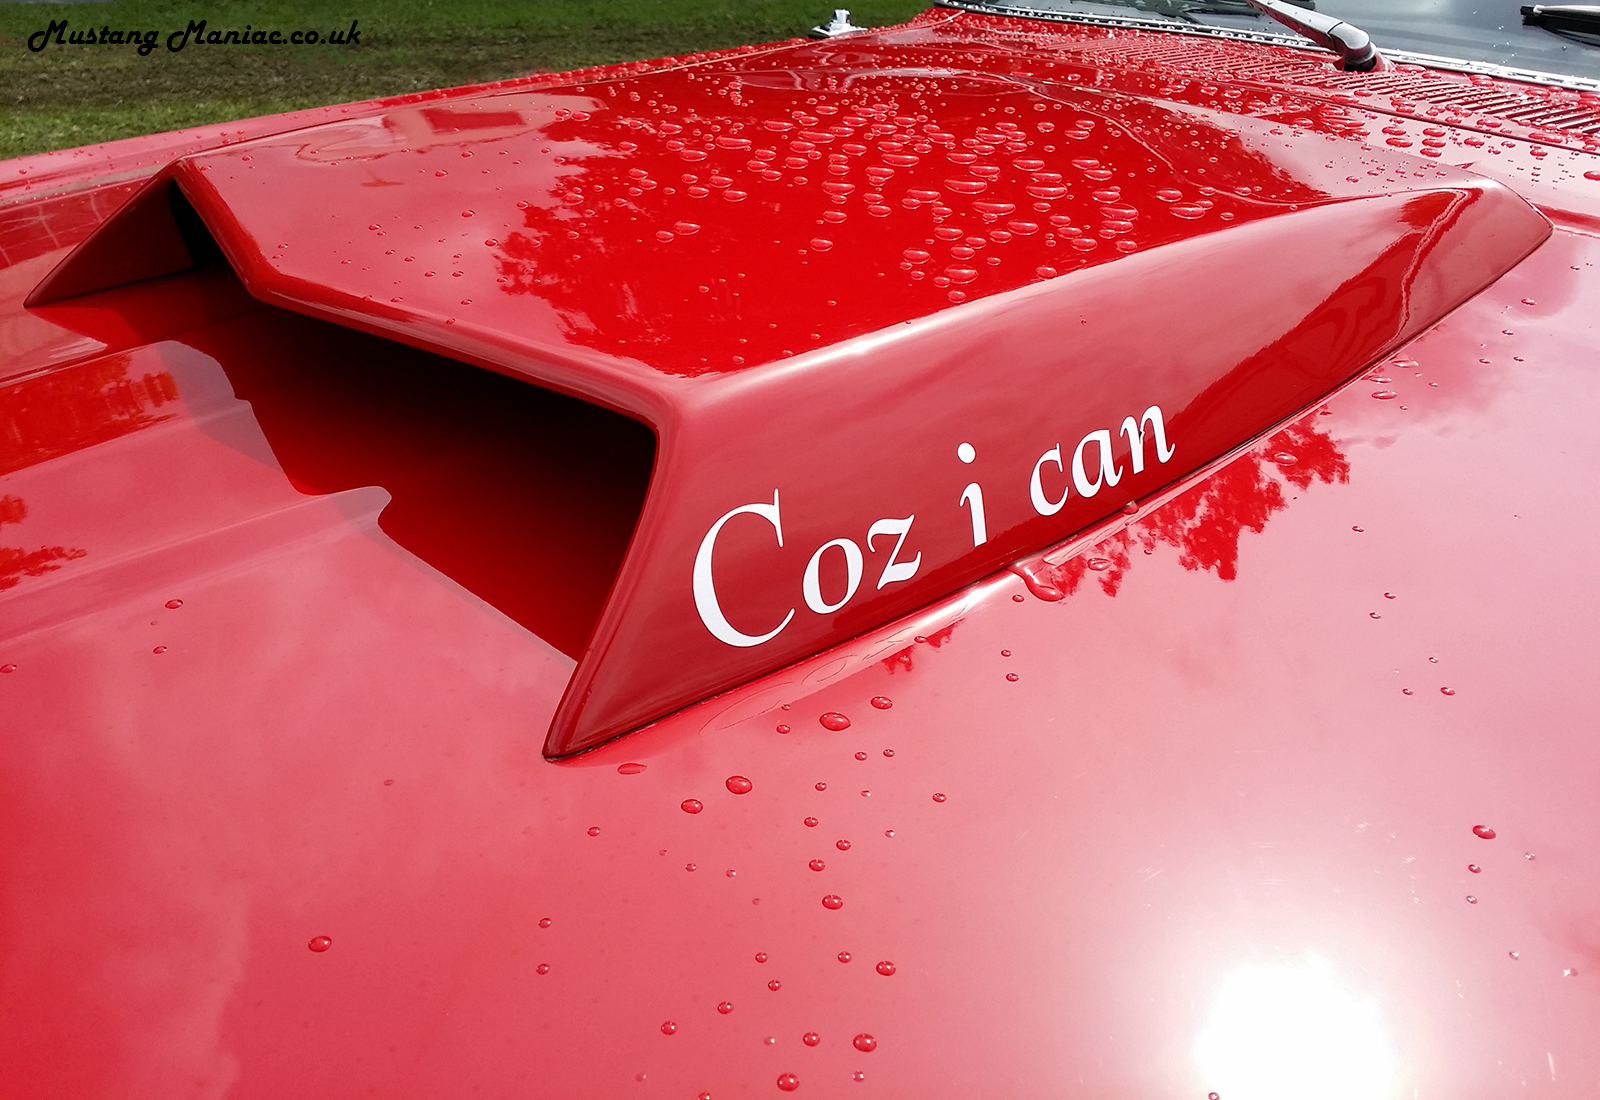
Yep, the popular John Wick car has taken the imagination of customers. When we show some customers around the workshops or the yard they ask to see the John Wick car now. We are pleased that the car is proving to be popular. This week we have been focusing on the exhaust, fitting the marker lights, front lights, setting up the LED rear lights and the rest of the engine wiring. The owner of the car has even bought the number plates down for us to put on the car, even though she is not finished yet. How could we refuse. 🙂 The exhaust has been custom fitted with the Flowmaster exhaust boxes which will give this lady a real bark when she starts up and help the performance too.


Lego:
Yes you did read that right. A little while ago at Mustang Maniac secret workshop (Adam’s office actually), we build a Ford Licensed Mustang, but it was on a small-scale.


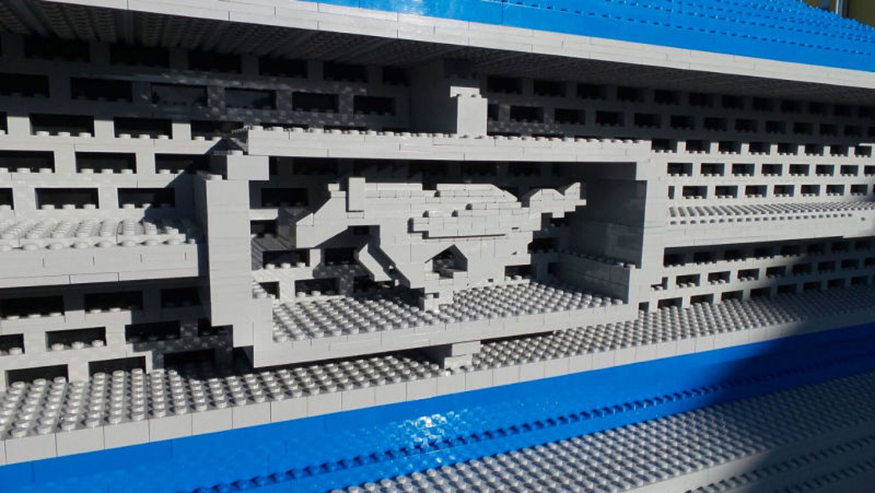
To celebrate the 40th anniversary of the Mustang Club of America, Lego’s Master Builders have built a full-scale 1964½ Mustang at its Enfield, CT facility. The Lego car will go on permanent display at Lego’s “Legoland” Florida resort in Winter Haven, FL later this year after touring the USA. This Mustang made of bricks has been nicknamed the Brick Pony. Just like Lego building blocks, (see what we did there), Ford kept building on the success of the Mustang which was expected to sell well, but not as well as it did; original sales forecasts projected less than 100,000 units for the first year. This target was soon smashed after three months from roll out. Another 318,000 would be sold during the model year, and in its first eighteen months, more than one million Mustangs were built. A record that still stands to this day!


We wonder how many actual bricks are in this Mustang? The Mustang weighs in at 1712 pounds of which 960 pounds are Lego bricks (and the larger Duplo bricks), the aluminium chassis takes up the remaining 752 pounds. This car has a chassis believe it or not. The detail on this car is pretty amazing, the headlights and tail lights work, and they have even rigged the model to sound a horn and play the engine sounds. The degree of care can be seen just by looking at the Mustang Coral and grill.
How To…
We mentioned at the beginning of the blog that we get asked how to do lots of things on the cars. The most recent a number of calls for the same thing, we decided to do a guide or “How To” page which can be found here, or go to the “How To Projects” menu on the home page.
This really is a simple job, not just on a Classic Mustang, but on most cars. The process should only take a couple of minutes to do with the correct tool. The basic principle is that the spindle from the wiper motor has vertical splines (or location lugs) which are matched by the wiper arm. On the more modern cars the arms are also held in place with a screw, bolt or nut of some description covered by a cap. With the fastener removed the same process could be applied here. The very nature of the part it will usually be corroded to some degree and be difficult to remove. Some of the later cars will need a wiper arm puller if it’s corroded on that bad. We recommend a squirt of Gibbs if this is the case to start with.
Tool:
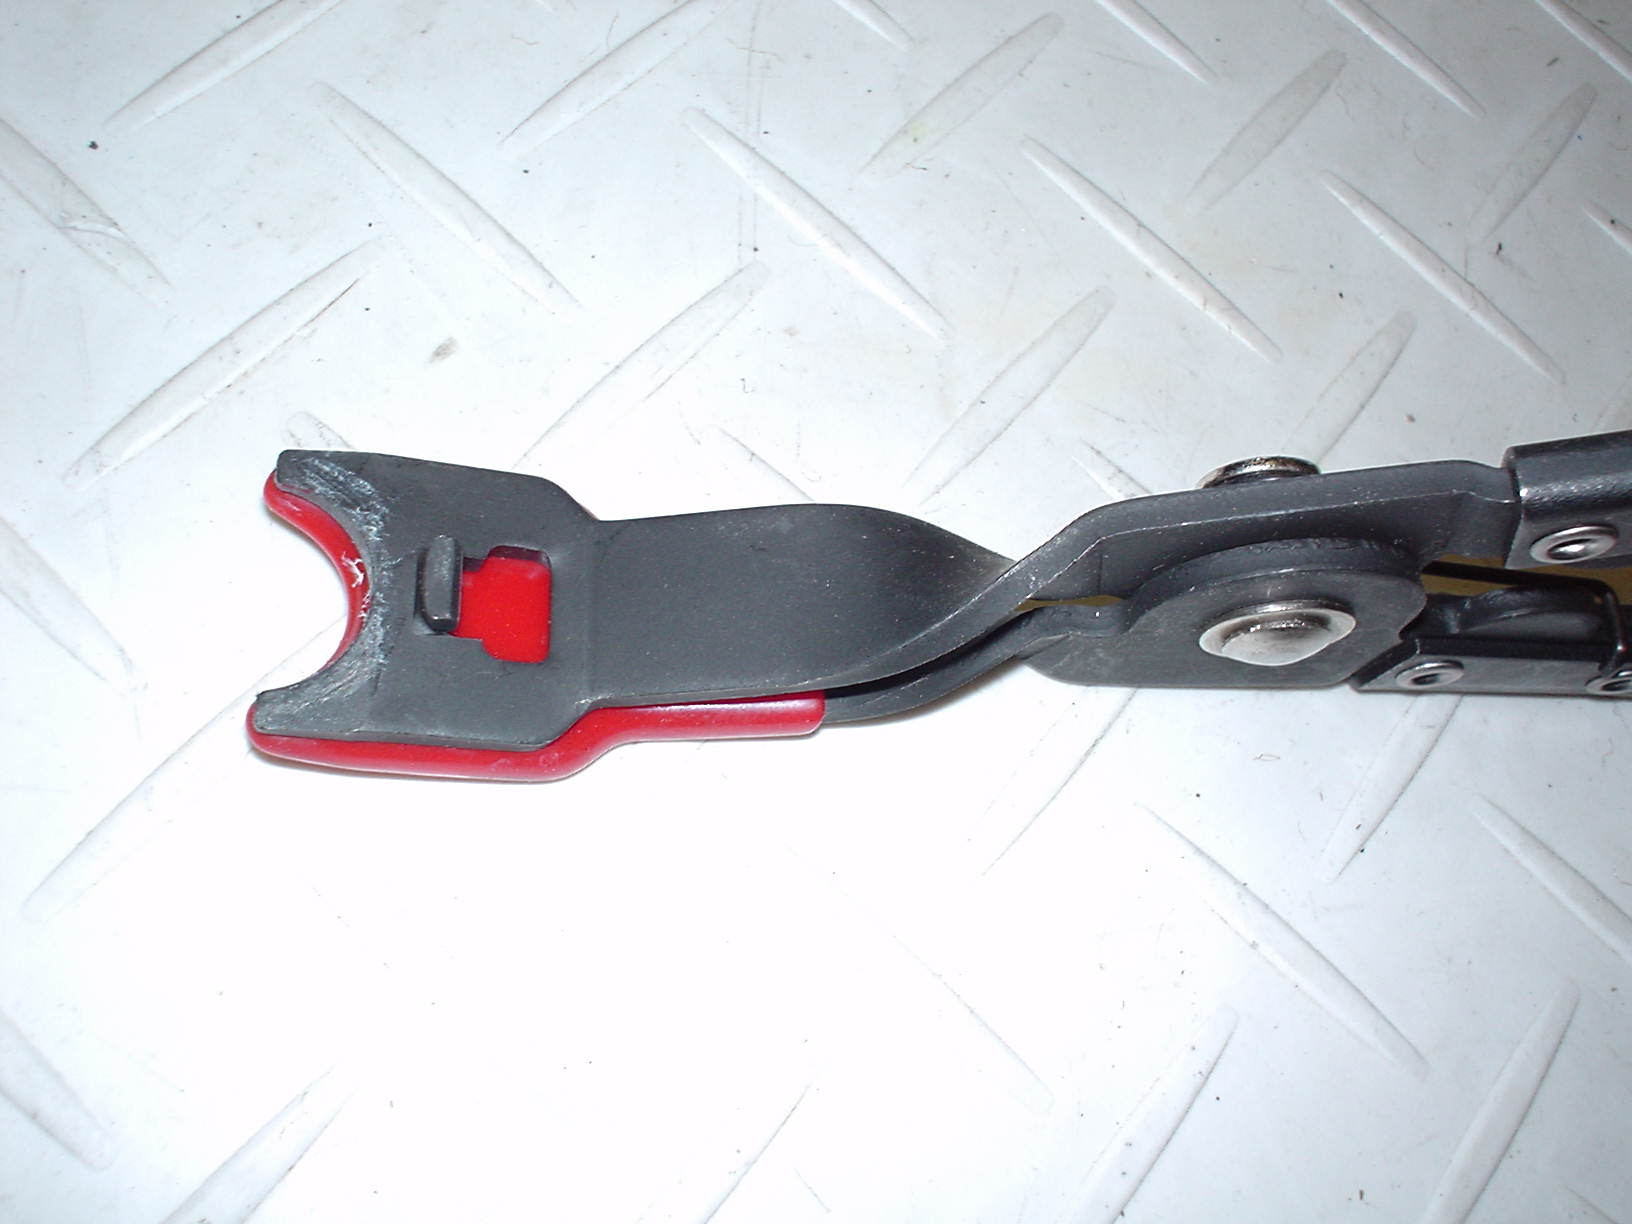
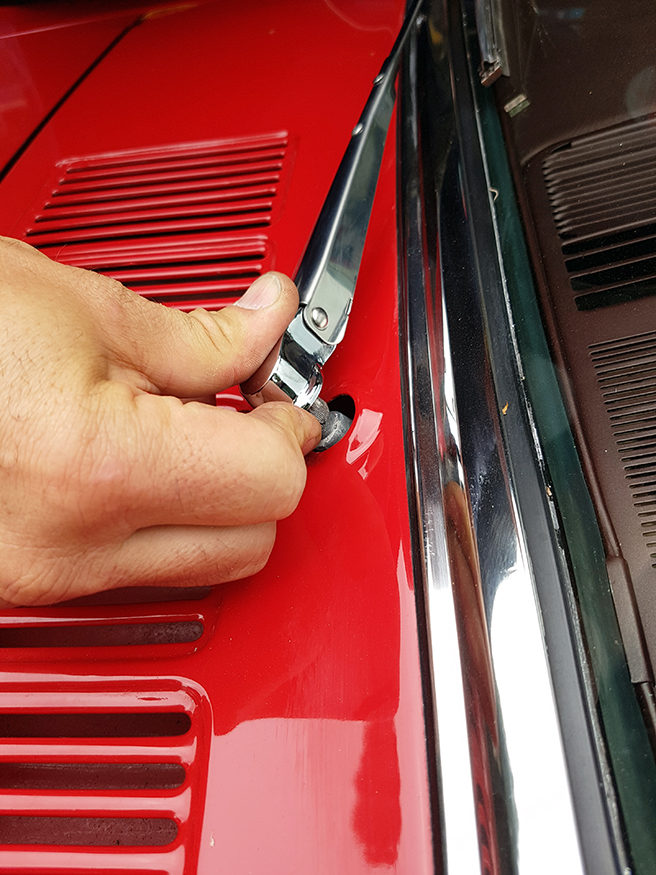
For a Mustang the tool is simply a cut out reversed set of long-handled pliers. This tool is not very expensive, wont slip and protects your paint work. The underside has a been coated with a rubber for non-slip and to protect the paint.
Process:
Note: Always make sure that the wiper arms are in the correct resting or “park” position before removing and fitting new arms.
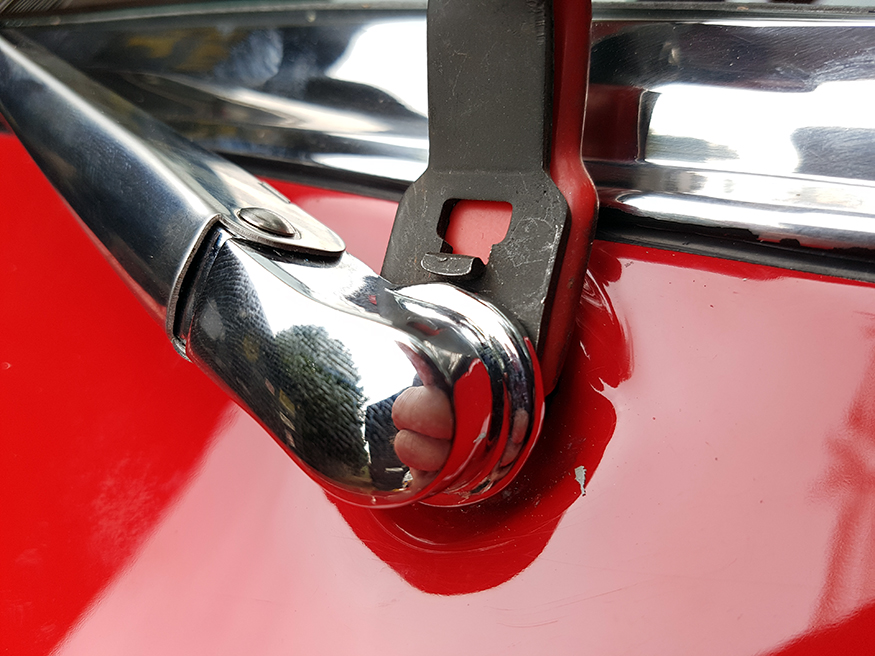
We have seen this being done with a screw driver in the past to devastating result. The screwdriver slips and goes across your paint job. Slip the pliers under the base of the wiper arm and squeeze the handles together.

The pliers force will force the wiper arm upwards leaving your other hand to catch the arm should it suddenly ping off and stop it damaging the paint work.
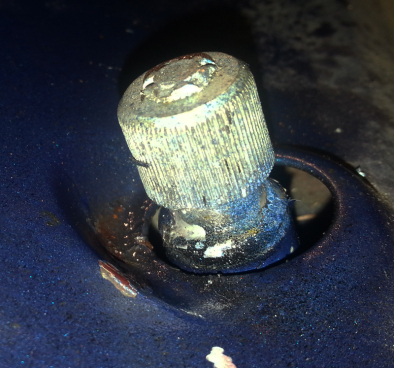
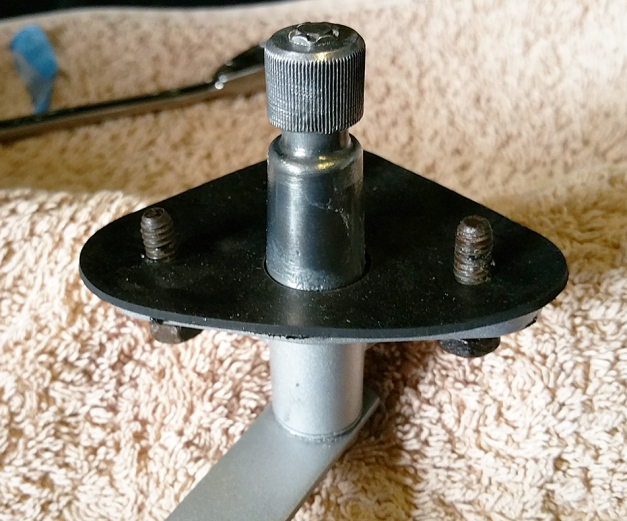
Here is a slightly corroded spindle and damaged splines.
Here is what is should look like before fitting a new one.
With the arm off clean the spline if you need to.
Align the arm where it needs to be fitted and simply press the new arms in place and it’s a job done. Simple as that.
Let us know if there is a specific quick walk through guide you would like to see.


Great blog as usual. The Lego story got me thinking…….I had Lego, my kids had it too and I now watch my granddaughter have hours of fun with it….what a truly iconic product just like our Mustangs so it’s really great to see the full size Lego Mustang. The ‘how to’ part of the blog was really interesting – keep it up!!
LikeLike
Thanks Gary,
The beauty of Lego is that it was a different toy each time you played with it. Amazing build that Lego car, we’re trying to think what would be more difficult, putting a proper Mustang together or build one out of tiny plastic bricks?
LikeLike
Looking for the “how to” on building the full size mustang out of Lego. Hope I’ve got enough bricks…
LikeLiked by 1 person
ROFL, now that would be a post and a half to see! 😀
LikeLike