
We have had a lot of positive reactions to what Yogi had done to the back of his Mach1 with the black light panel and the smoked lenses being fitted. We managed to sell a few sets as a result, something we wasn’t quite expecting. After we posted about them a couple of weeks ago, we had been asked at the Enfield Pageant just how easy is it to fit our bespoke LED light kits to their cars. Firstly there is obviously a difference between years and their fittings, but the principles are the exactly same. If you choose a set of our LEDs without sequential you won’t need to worry about the sequence control button. As luck would have it we had a car in for a set of our sequential light kits for a ’69 model.
Park & Pic
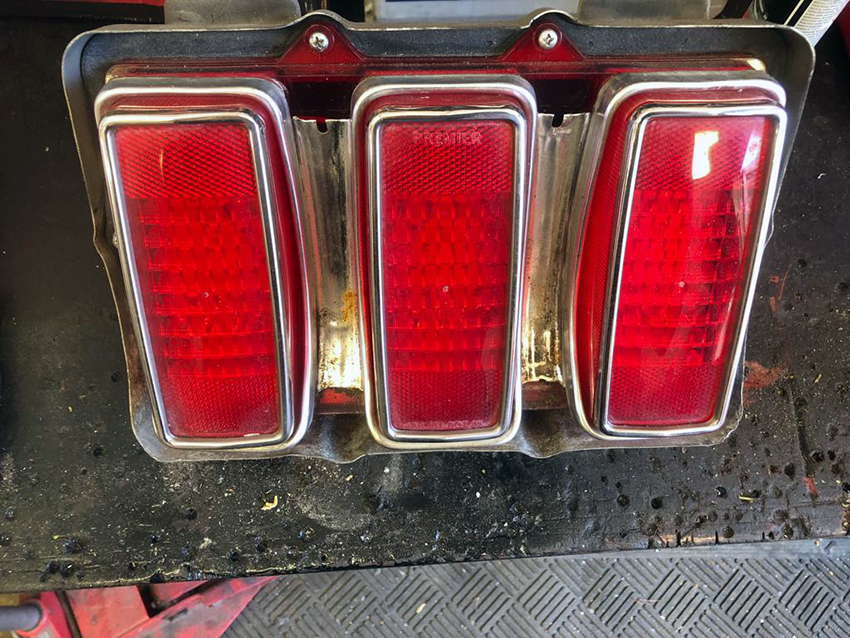
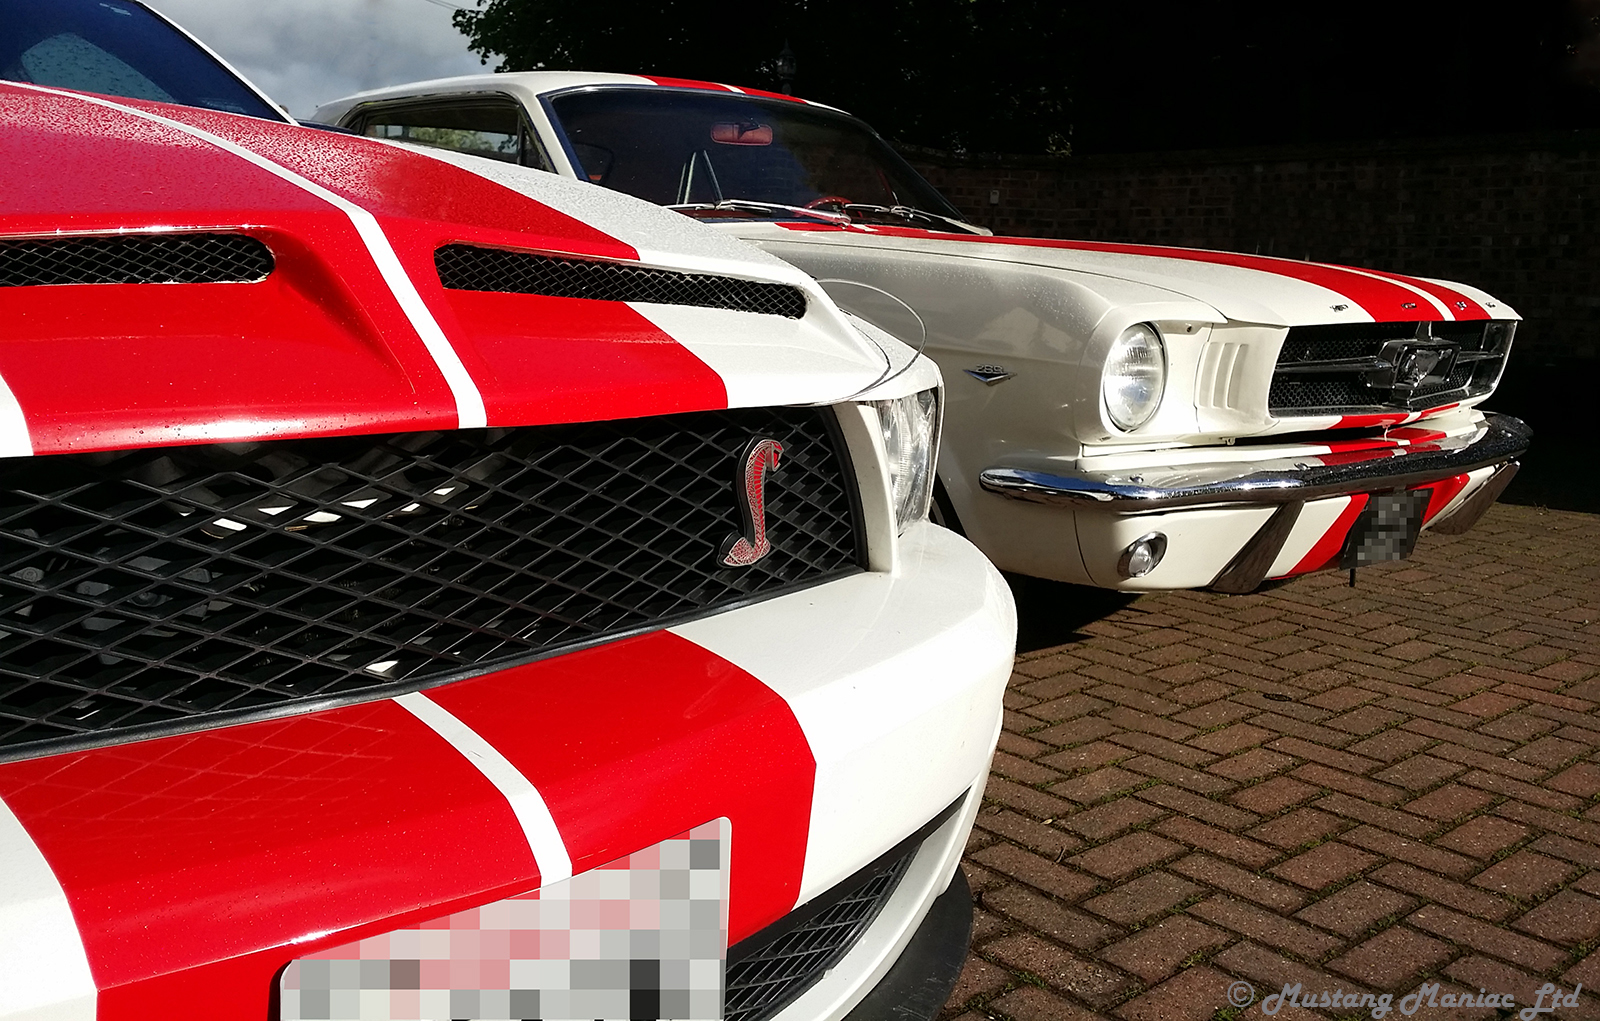
This is a very nice ’69 convertible that we fitted our sequential LED light kit.

The process was to remove the old lenses as we were going to fit new ones, but you need to keep the rear light housing.
Our LED lights have a subtle button on the back of one of the light housings that allows you to change the type of sequence that you want. You just need to work out which side of the car you want the button and drill a small hole big enough to pass the button through. Make sure the hole is far enough back to allow the new light board to sit correctly in the housing if you want the button near the edge.


Push the button through the hole and tighten the locking ring.

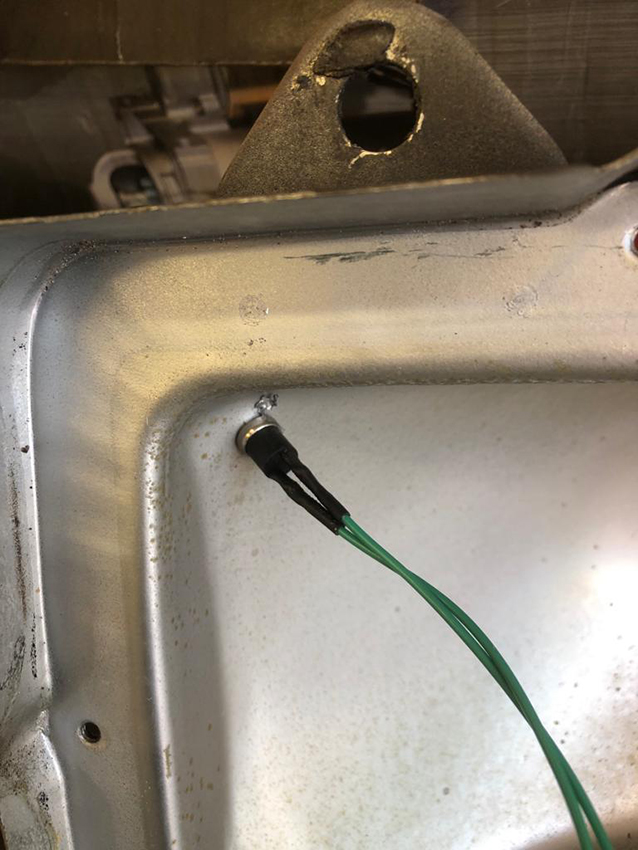
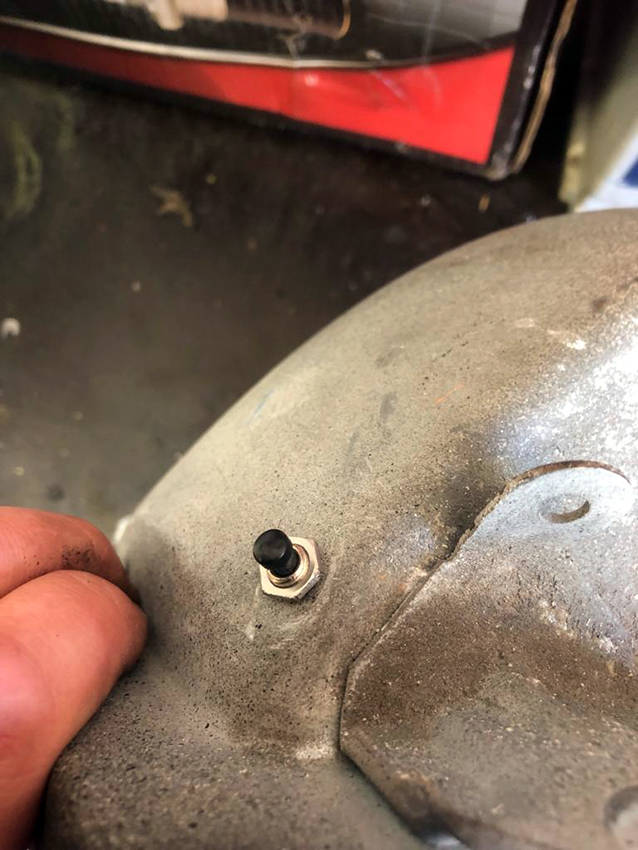
That’s pretty much the hardest part all done. Connect the new wiring pigtail to the light unit and then screw the new cluster into place after the pigtail has been passed through the standard hole on the light fitting.

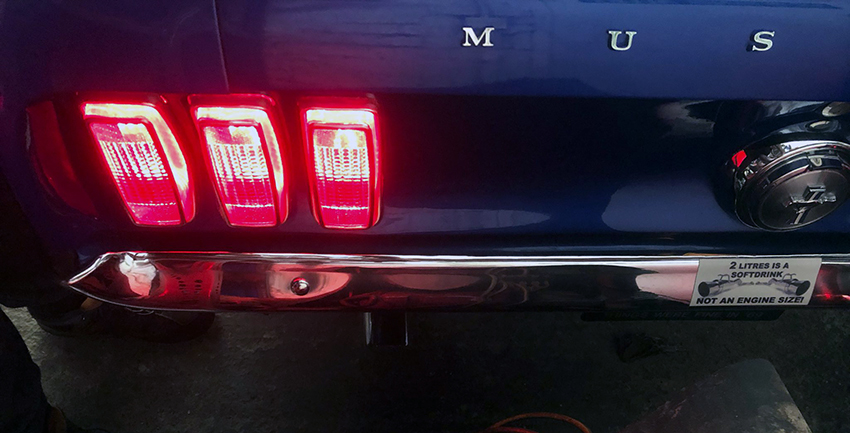
Screw the complete unit back into place on the light panel and your done. A totally stock look with very clear intentions to those behind. We have a video below for the various sequences you can choose for your lights.
Yogi was standing off to the side pressing the button to show the options. We have already told him to do it a little longer next time for a better idea of looks. We couldn’t film again as the car was picked up shortly after we fitted them.
Customer Cars
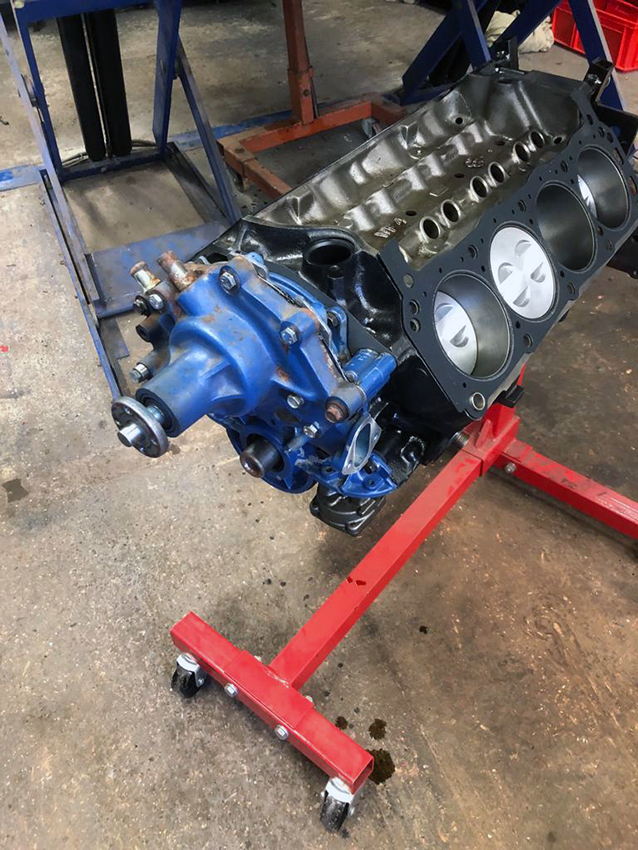
We have a ’67 that was going to get a new engine off our shelf to be fitted into the car. We started underside making sure all was pre oiled ready for priming.


The old engine is taking of the parts we could use onto the new ones and replacing any worn or damaged parts. Adam & Yogi seen bolting the new parts to the engine.


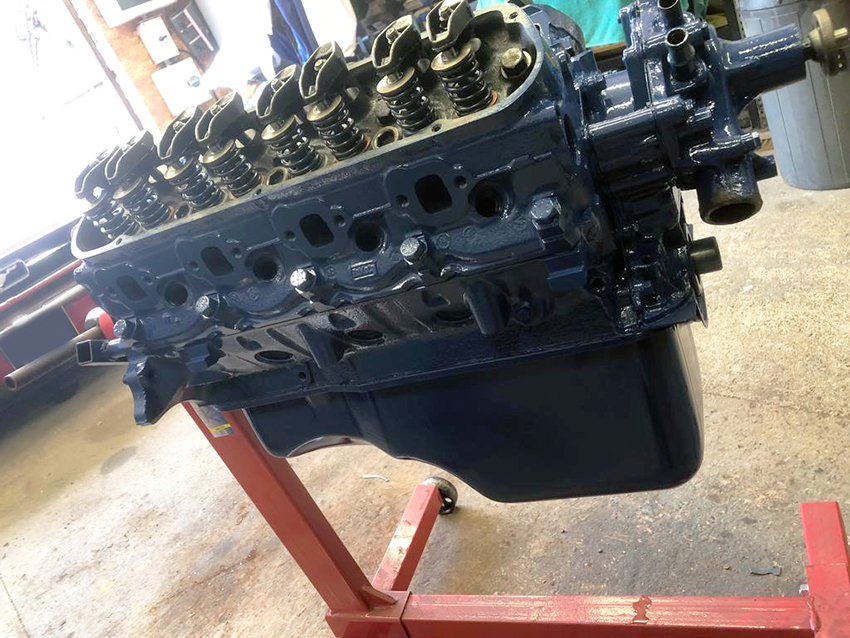
A pair of our date correct cylinder heads we bolted to the date correct block so it that the engine is a correct date coded engine. The engine was painted with engine paint before it would be fitted back to the car.

The engine was bolted back into the car along with plumbing, electrics and aircon. We spin the oil up to the top of the engine with our own home made tool without having to crank the engine so that everything is lubed up. We then set defaults for distributor and carb and fire her up.
After a few seconds of cranking over to prime the fuel we could then fire up properly. She fired up on on the button as expected and here we have Yogi blipping the throttle to take off the choke.
With the default settings she still sounded good, but we had to set timings etc. after warming the engine up properly. Then we could road test that all was as it should be.


